The family portal, step by step
This guide walks you through, one action per step. If you get stuck or hit a technical problem, the school remains at your disposal — see the bottom of this page.
Ce guide existe en français : Version française
Signing in for the first time
You need: your email address (the one given to the school) and your phone or computer.
- Open the internet (Safari, Chrome…) and type: portail.myevo.fr
- The very first time, click “Sign up” — the line “Don't have an account? Sign up”, at the bottom of the screen. ⚠️ Don't fill in the “Sign in” box that day: you would get an error message.
- Type your email address — exactly the one given to the school, to the letter — then click “Continue”.
- A 6-digit code arrives in your mailbox (check “junk” / “spam” too).
- Copy that code onto the screen: your account is created, you're in.
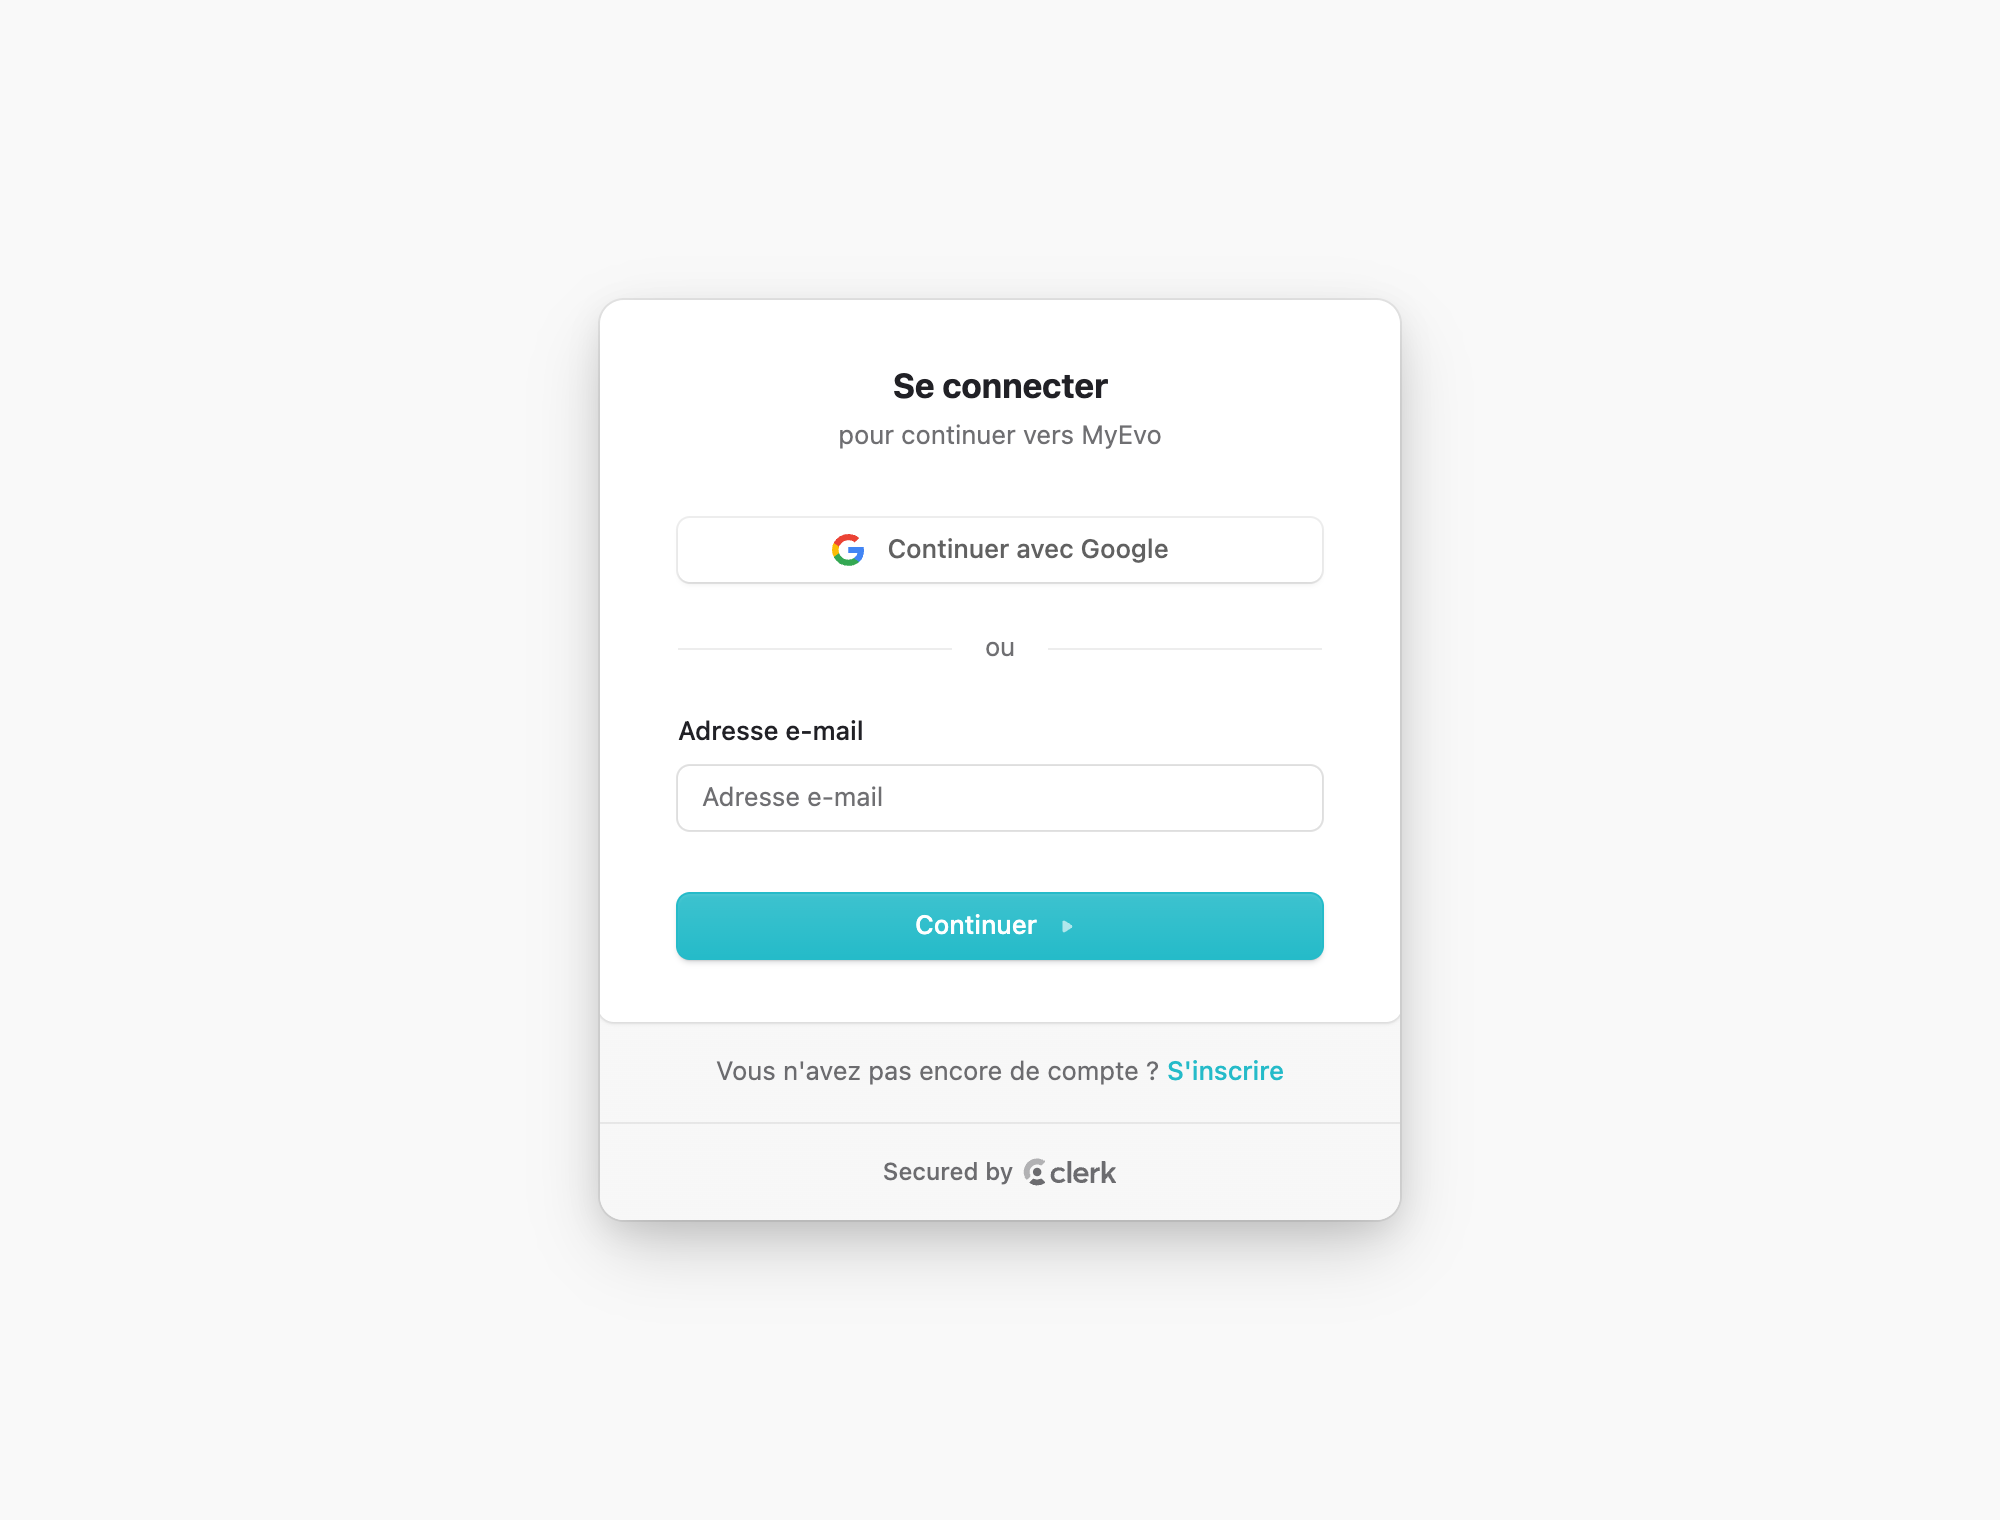
💡 The FOLLOWING times, the “Sign in” box is enough, with the same address. An error message? It's almost always one of two causes: a first visit without going through “Sign up”, or an address different from the one given to the school.
Finding the portal easily
- On iPhone: open portail.myevo.fr in Safari, click the Share button (the square with an arrow, at the bottom), then “Add to Home Screen”.
- An Evo's School icon appears on your screen, like an app: one click opens the portal.
- On a computer: once on the portal, add it to your bookmarks (the ☆ star at the top, or Ctrl+D / Cmd+D).
💡 You stay signed in for a long time: no need to enter the code every visit.
Reading your dashboard
It's the first page after signing in. It says what matters at a glance.
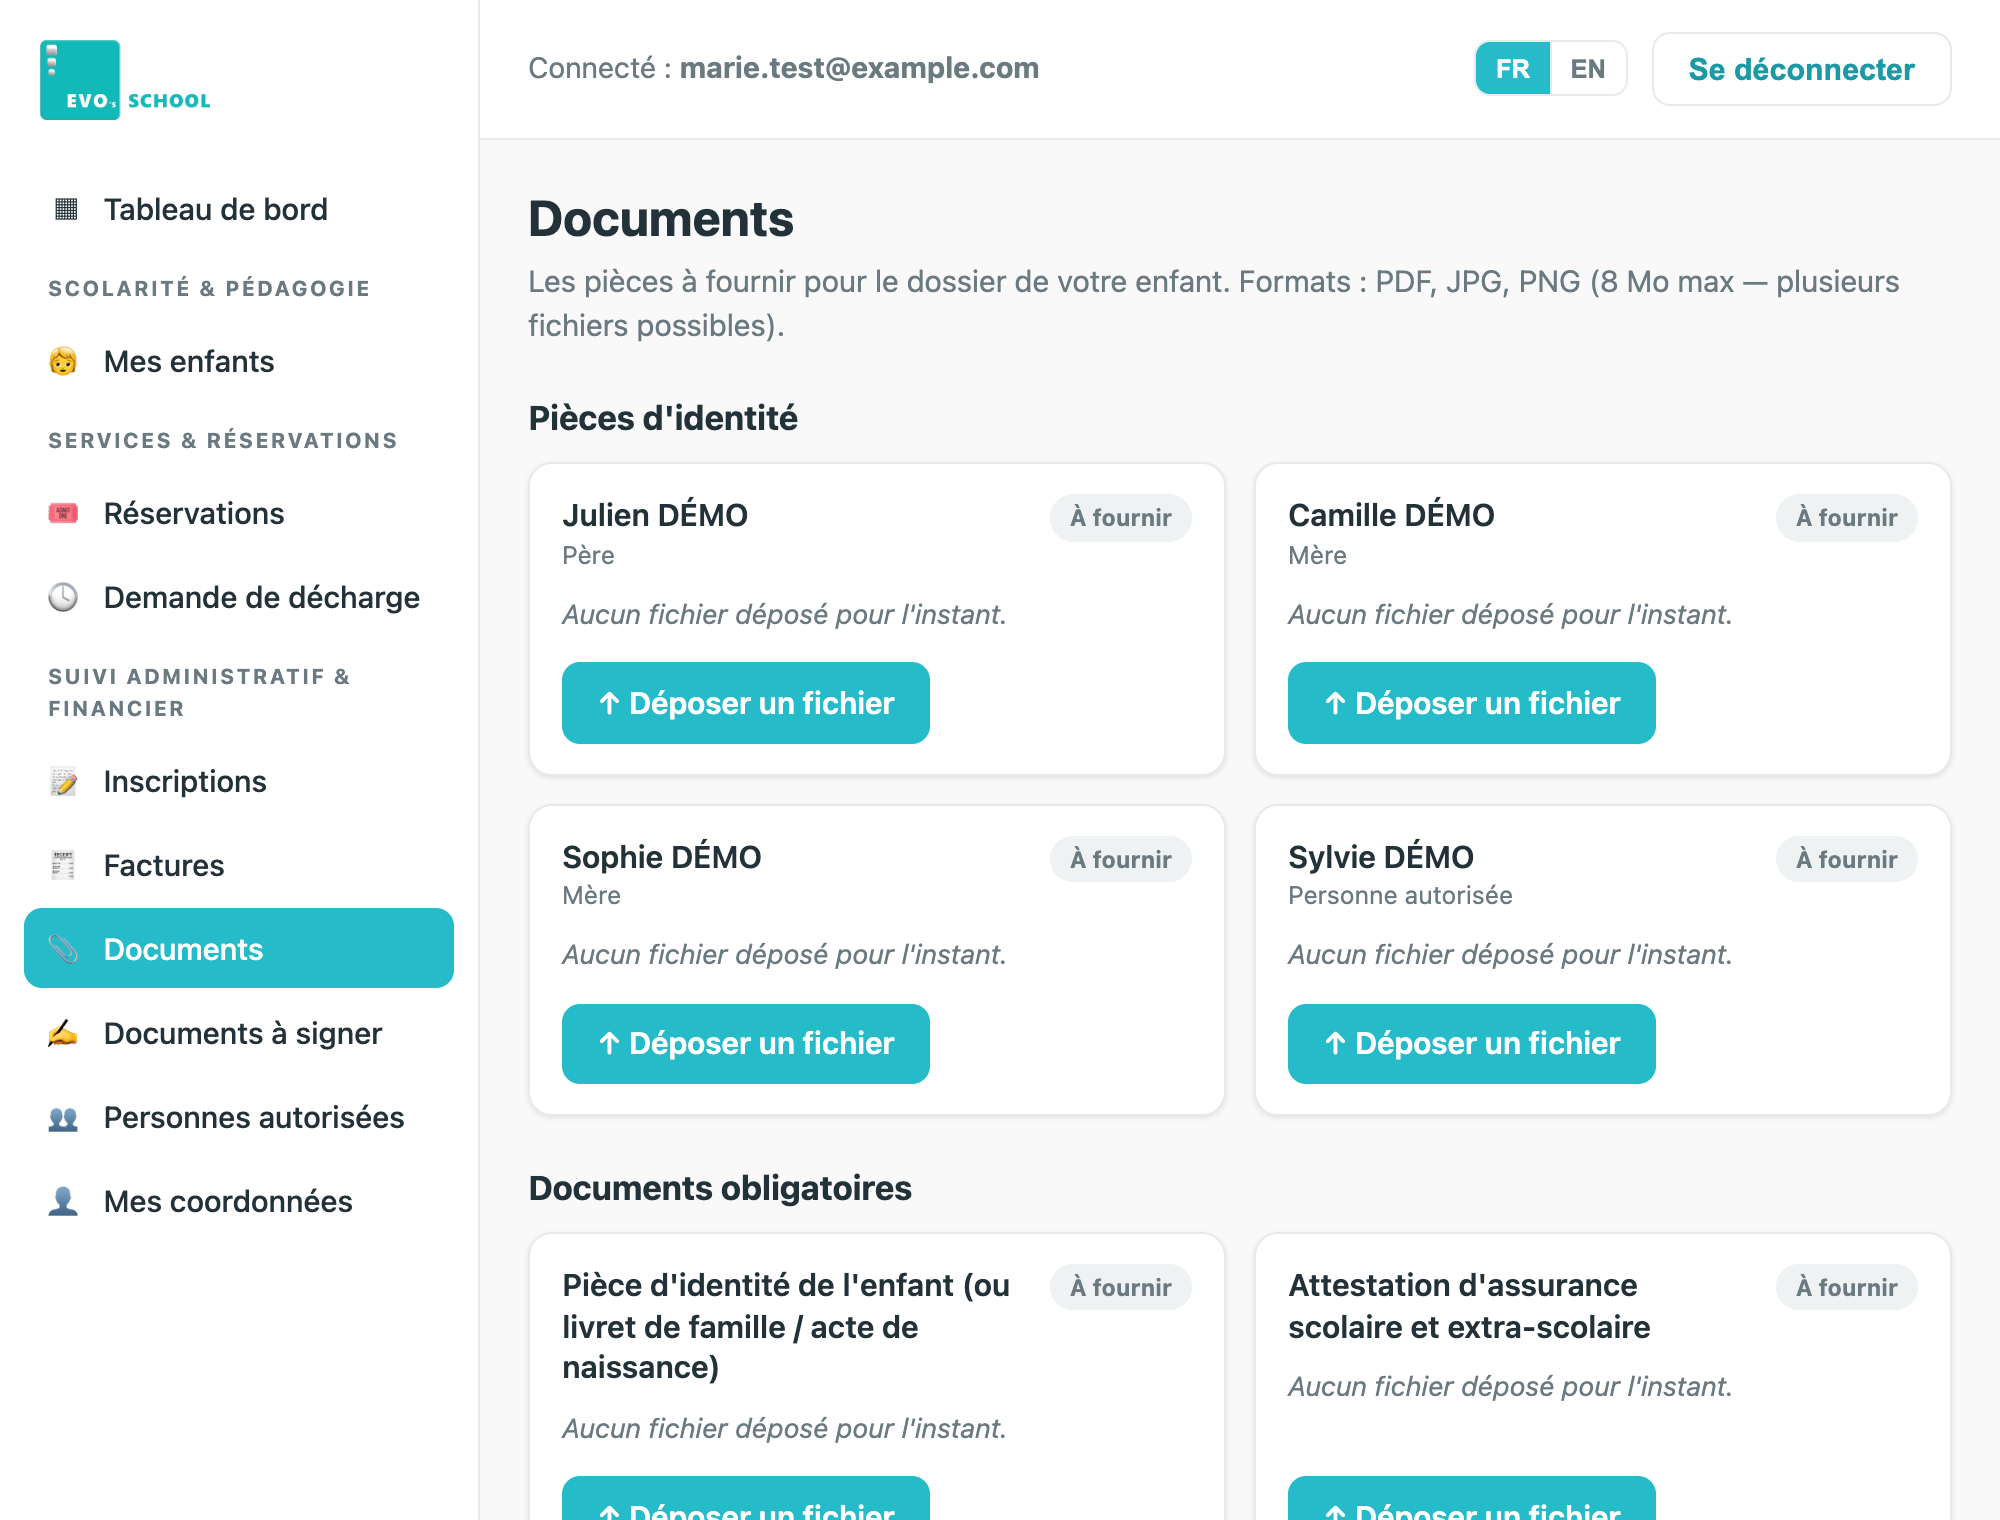
- The “TO DO” area at the top lists what the school is waiting for (a document, a payment). Nothing there? All is in order.
- Click the little arrow on a “to do” line: it takes you straight to the right place.
- The left-hand menu (or the ☰ menu on your phone) opens everything else.
Uploading a document
Example: the insurance certificate. A clear photo taken with your phone is perfectly fine.
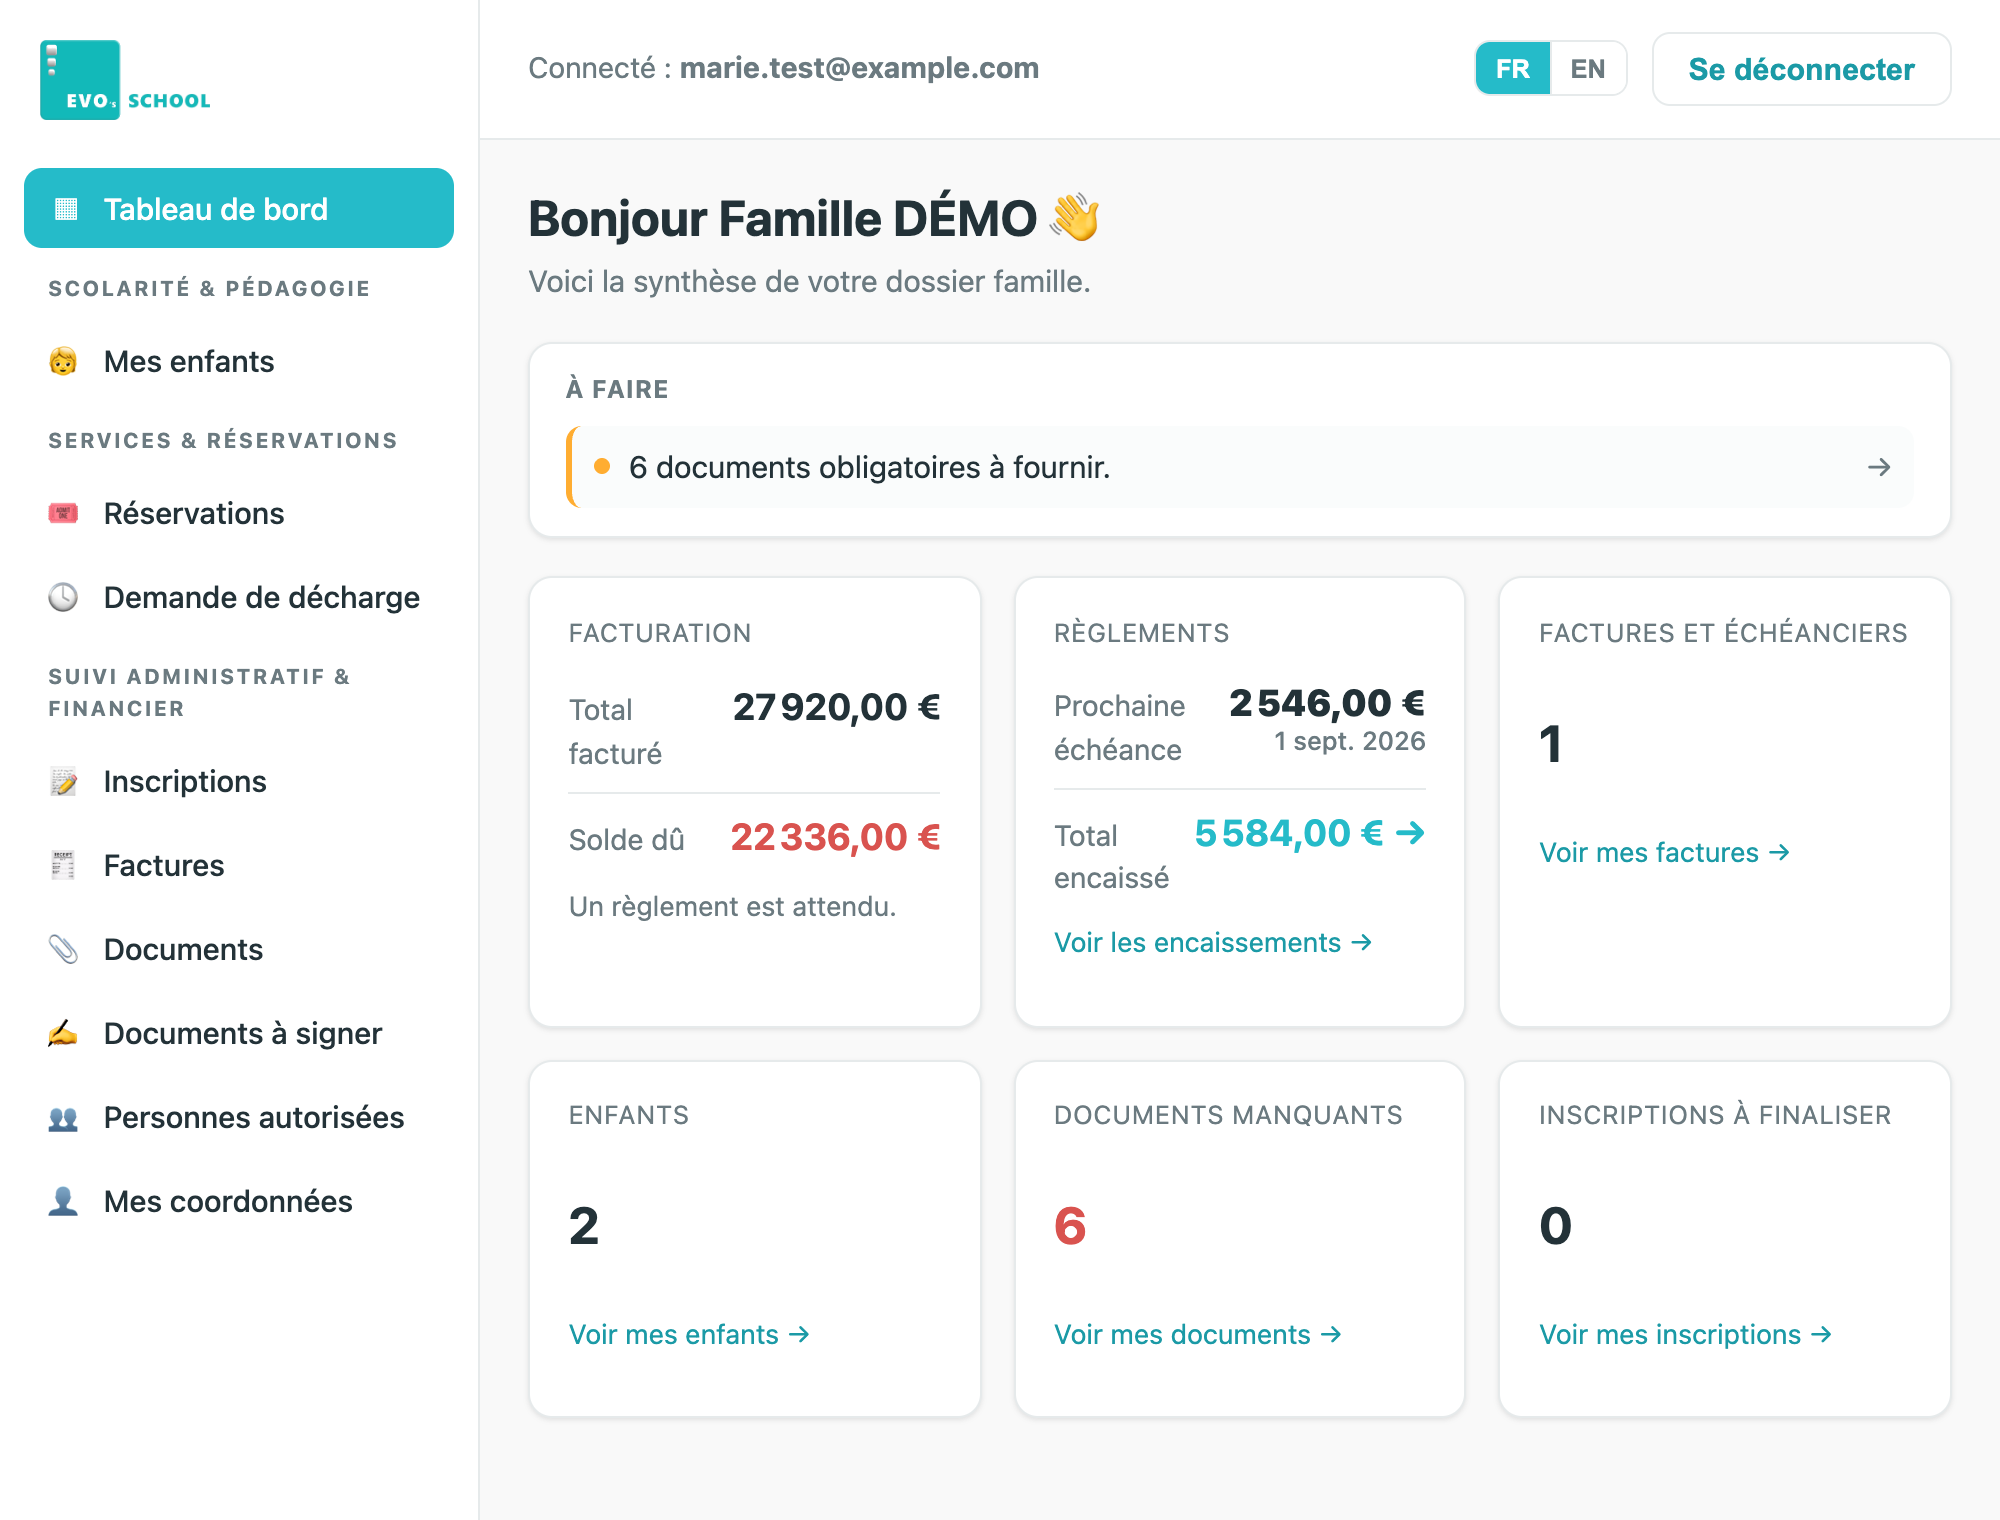
- In the menu, click “Documents”.
- Find the card of the requested document (“To provide” is written on it).
- Click the “Upload a file” button.
- On a phone: choose “Take a photo” or pick it from your photos. On a computer: pick the PDF or photo.
- That's all: the upload starts by itself and the card switches to “Received”.
Your invoices and payments
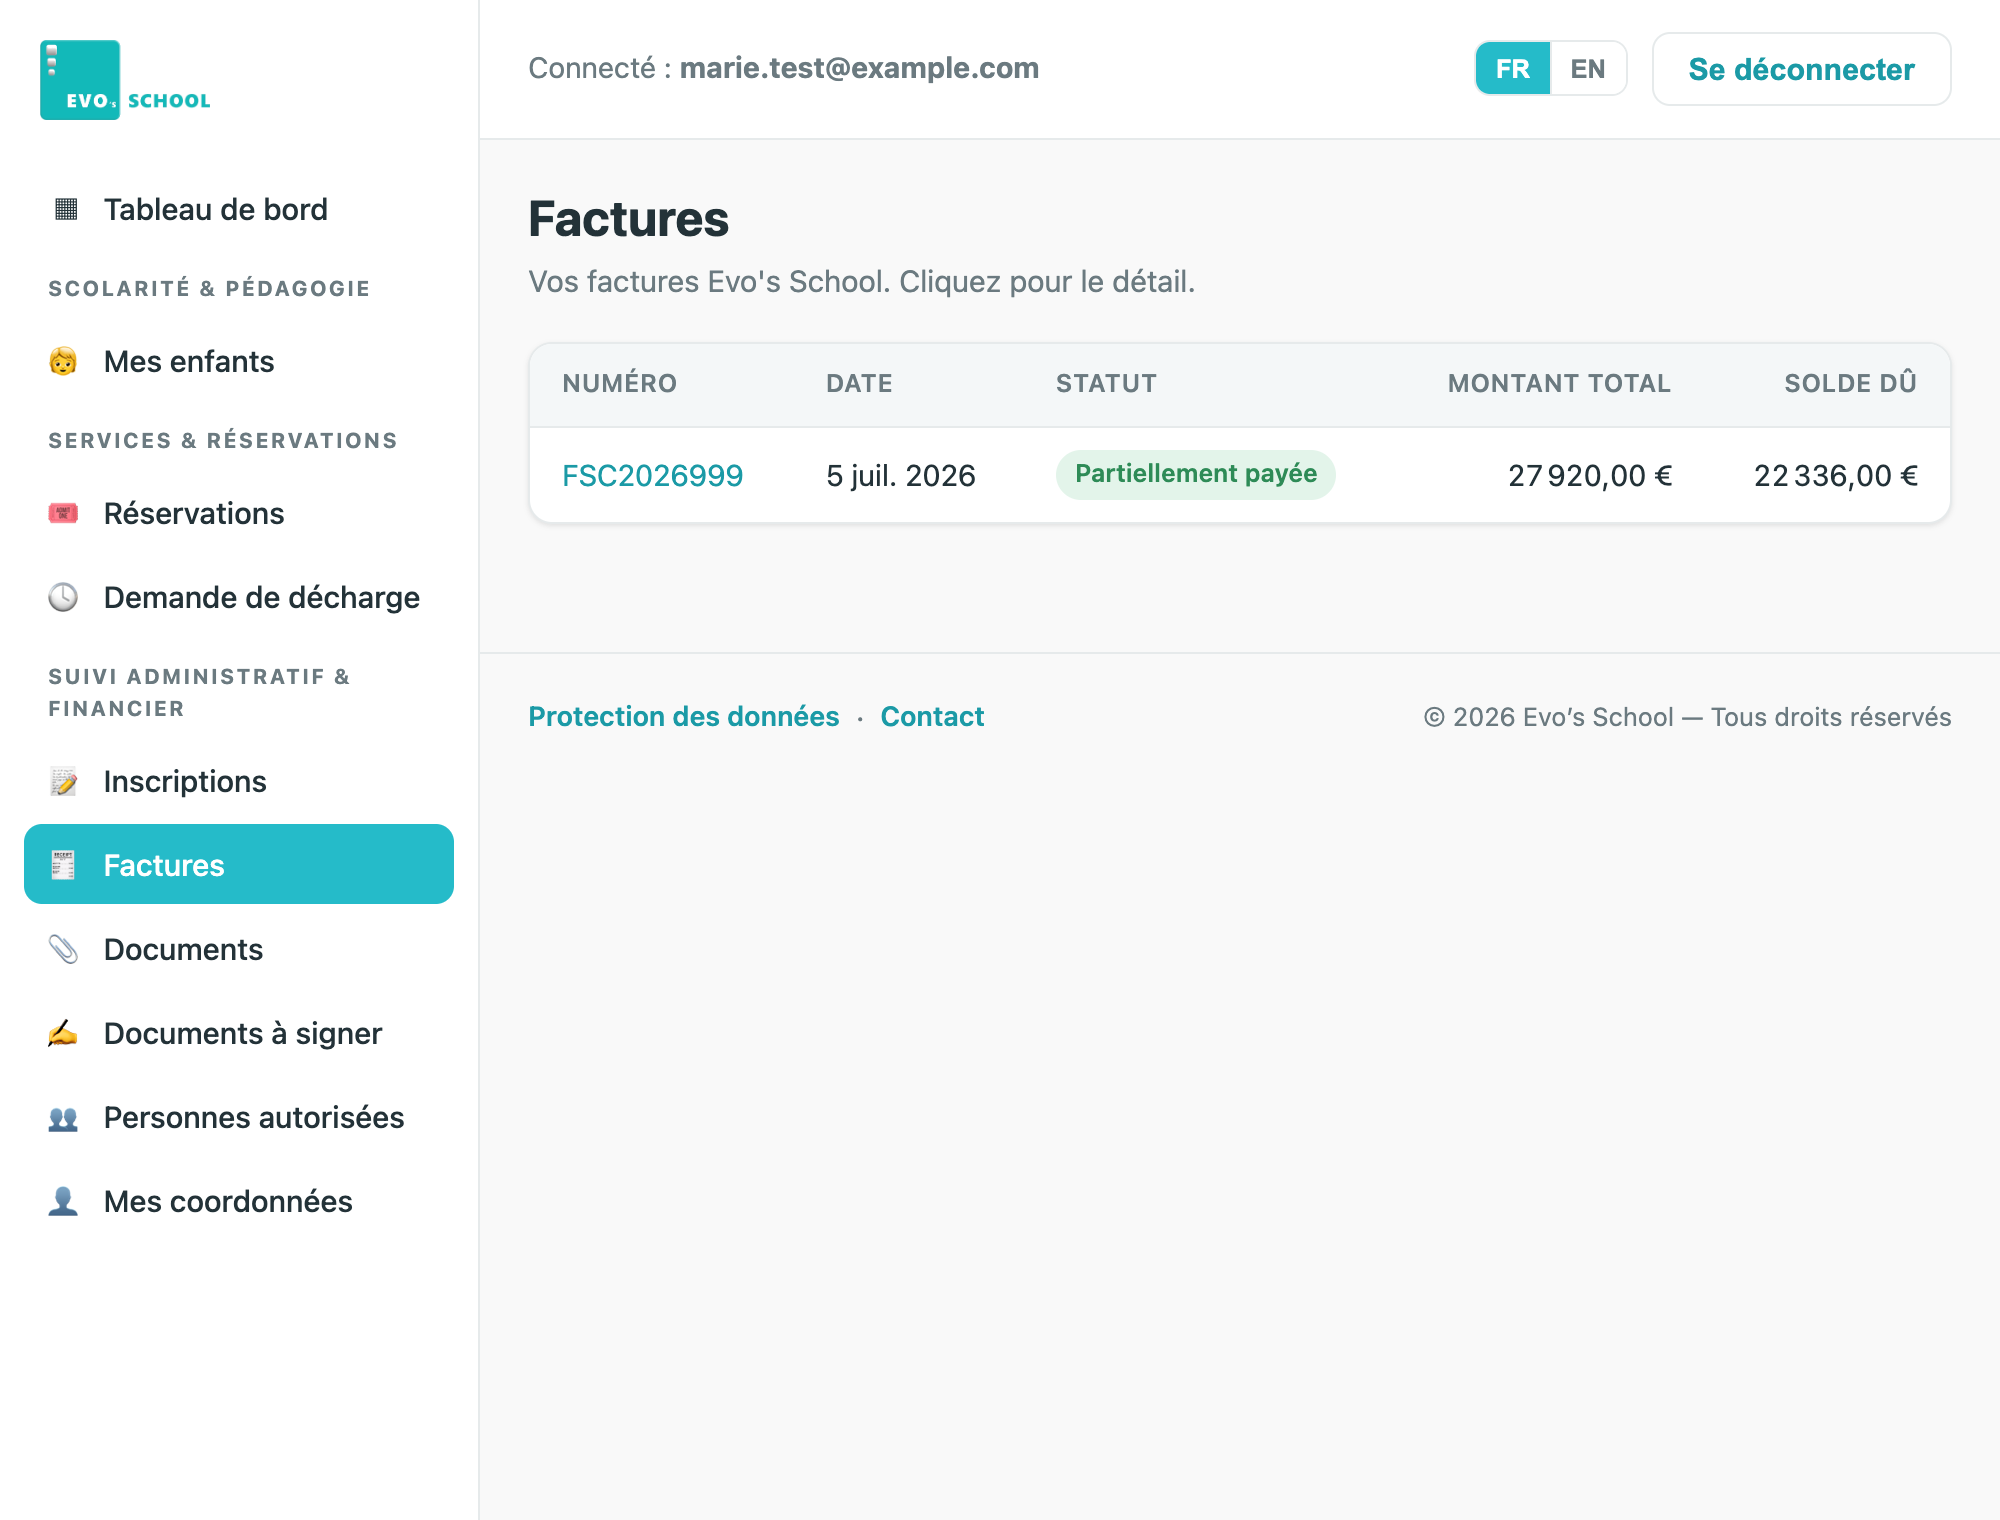
- In the menu, click “Invoices”: each invoice is there with its instalment schedule (dates and amounts).
- Click “PDF” to open or print the invoice.
- Payments are made by bank transfer — the school's bank details are on the invoice. Each transfer received appears under “Payments received”.
Booking: camps, Kids Club, lunches, activities
- In the menu, click “Bookings”, then the card of the service you want.
- Click the first name(s) of the child(ren) concerned.
- Pick the date, week or plan: the price shows before you send — no surprises.
- Click “Send the request”. The school confirms, then the invoice appears under “Invoices”.
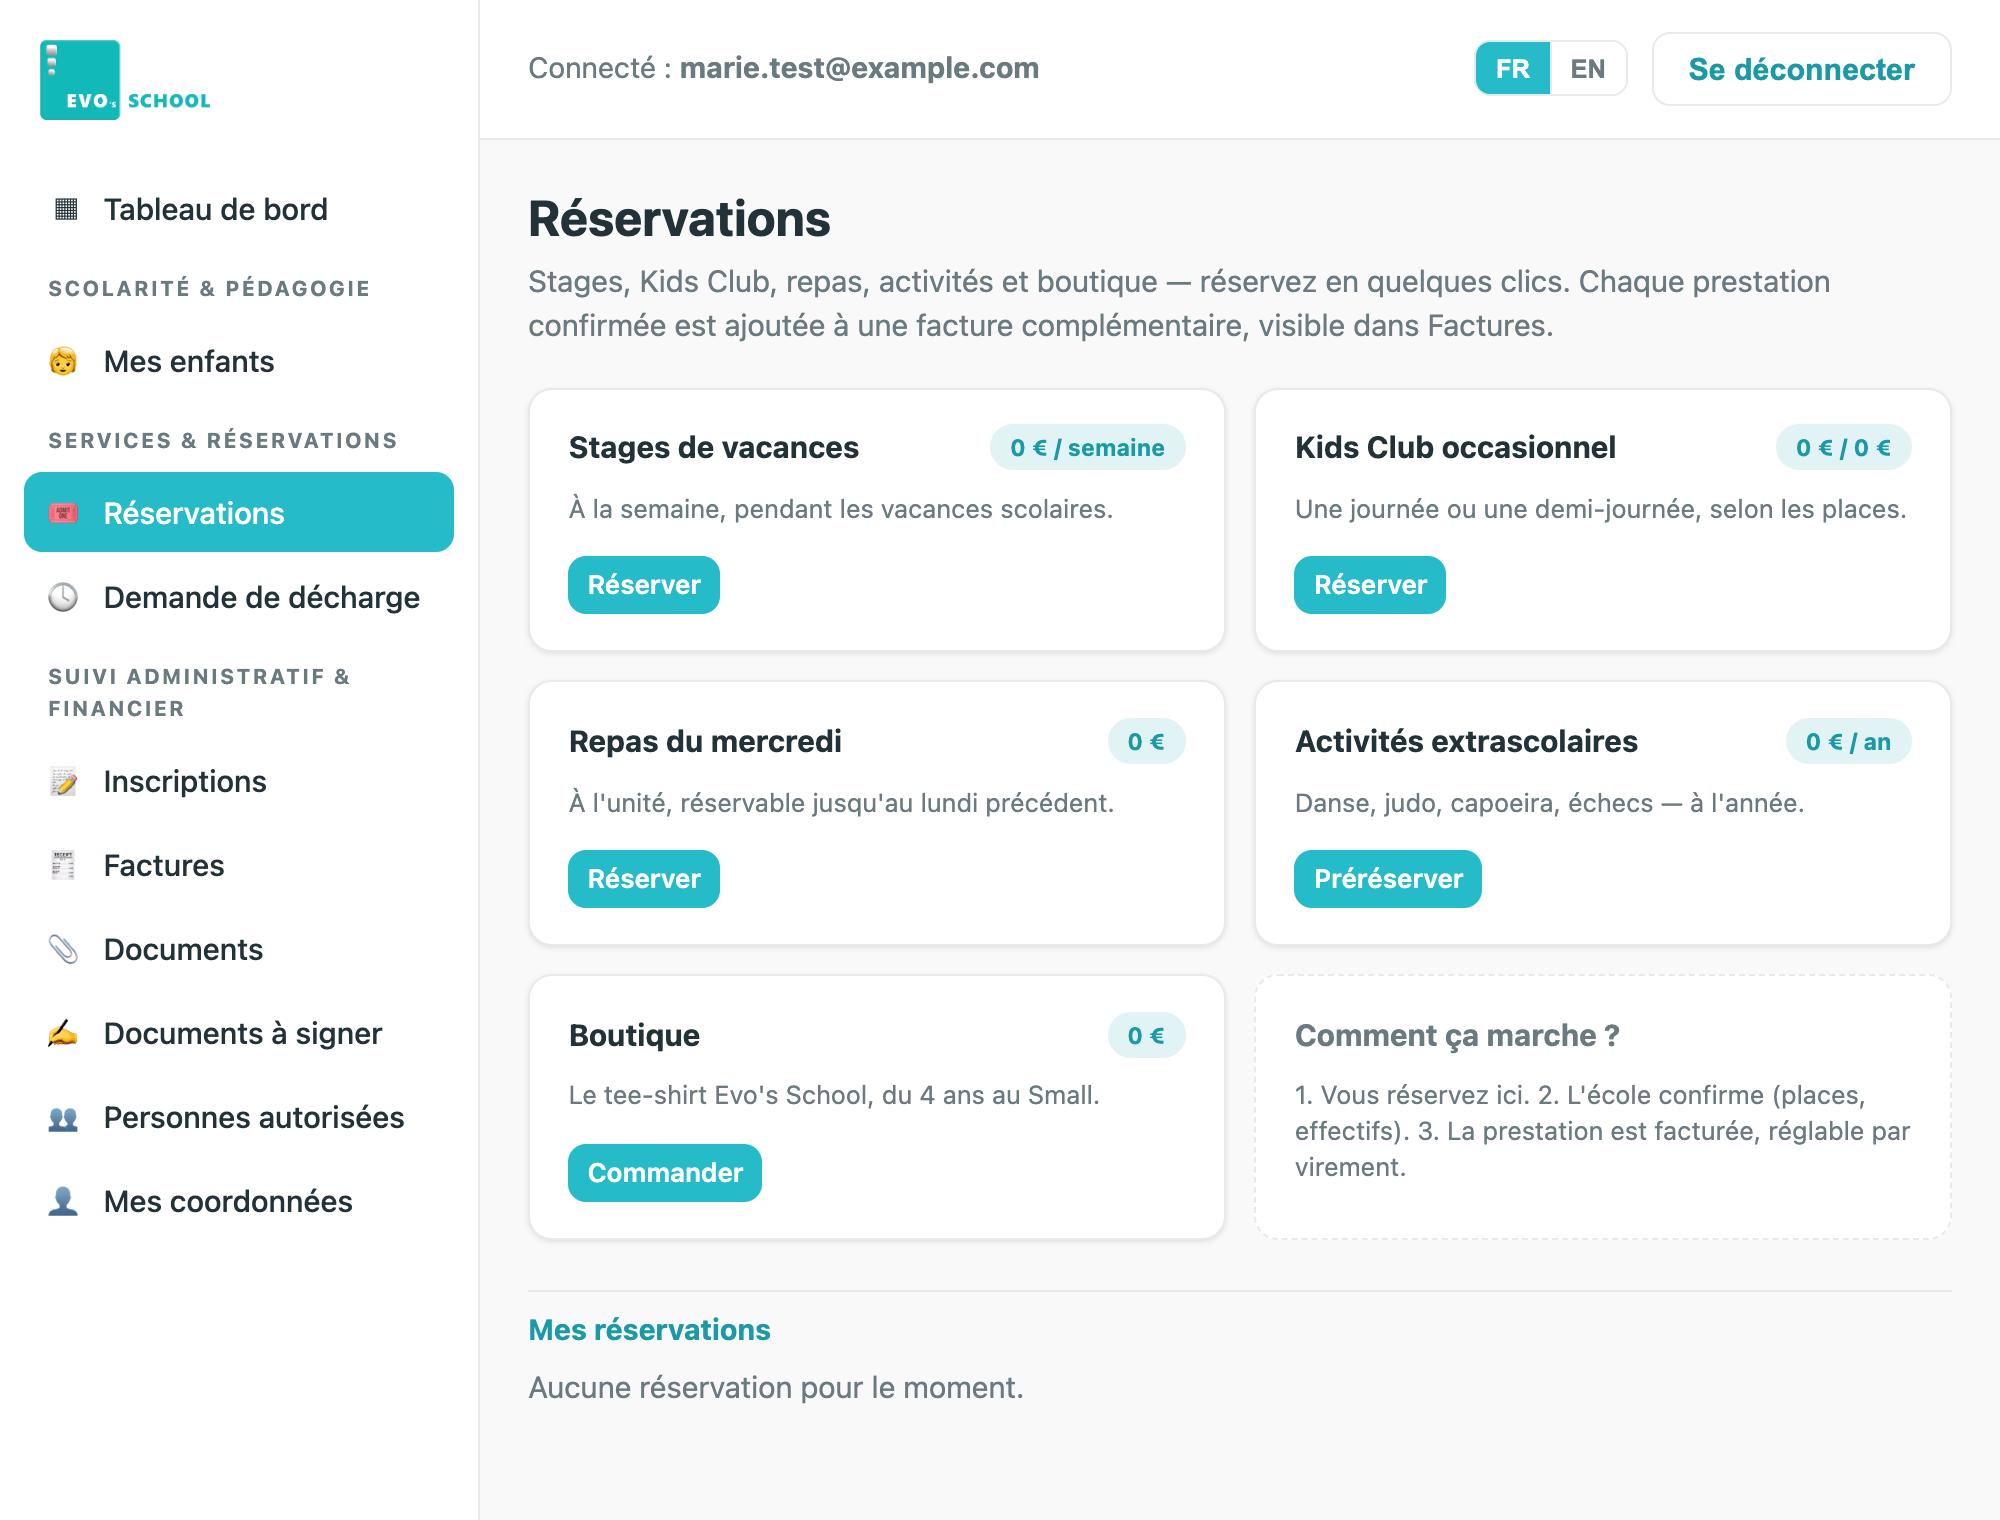
💡 Until the school confirms, you can cancel the request under “My bookings”, at the bottom of the page.
Early-departure requests
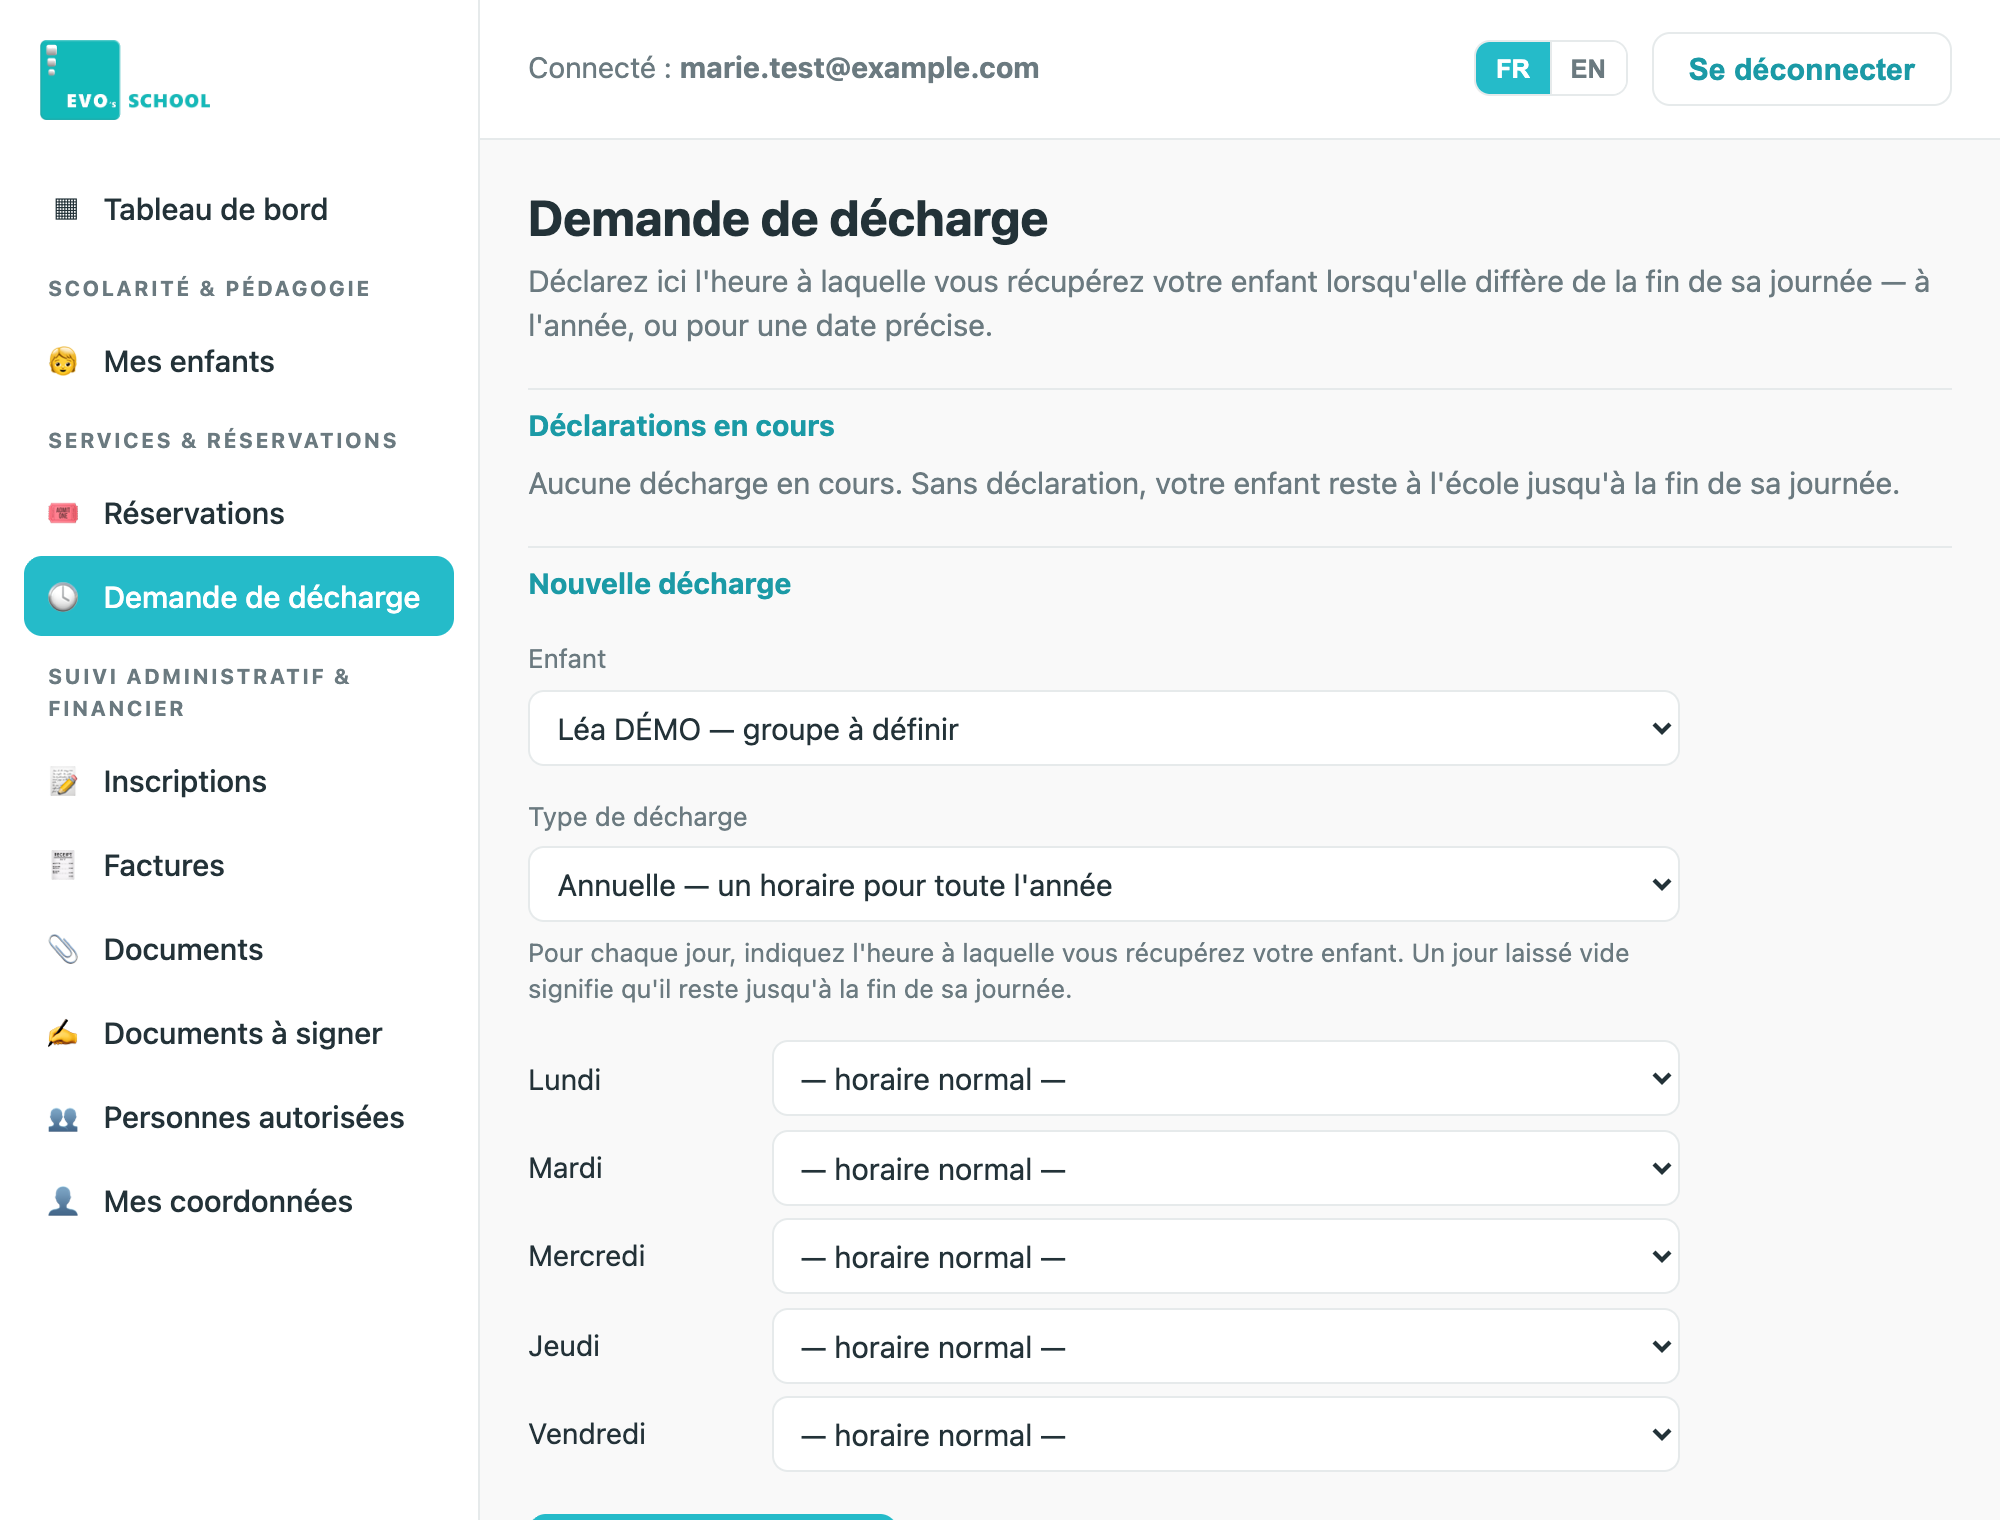
An early-departure request covers picking your child up before their usual schedule. It can be regular for the whole year, or one-off.
- In the menu, click “Early-departure request”.
- Choose: regular for the year (a usual time per weekday) or one-off (a precise date or period).
- Fill in the child, the time and, if asked, the reason. Click “Send”.
Signing a document
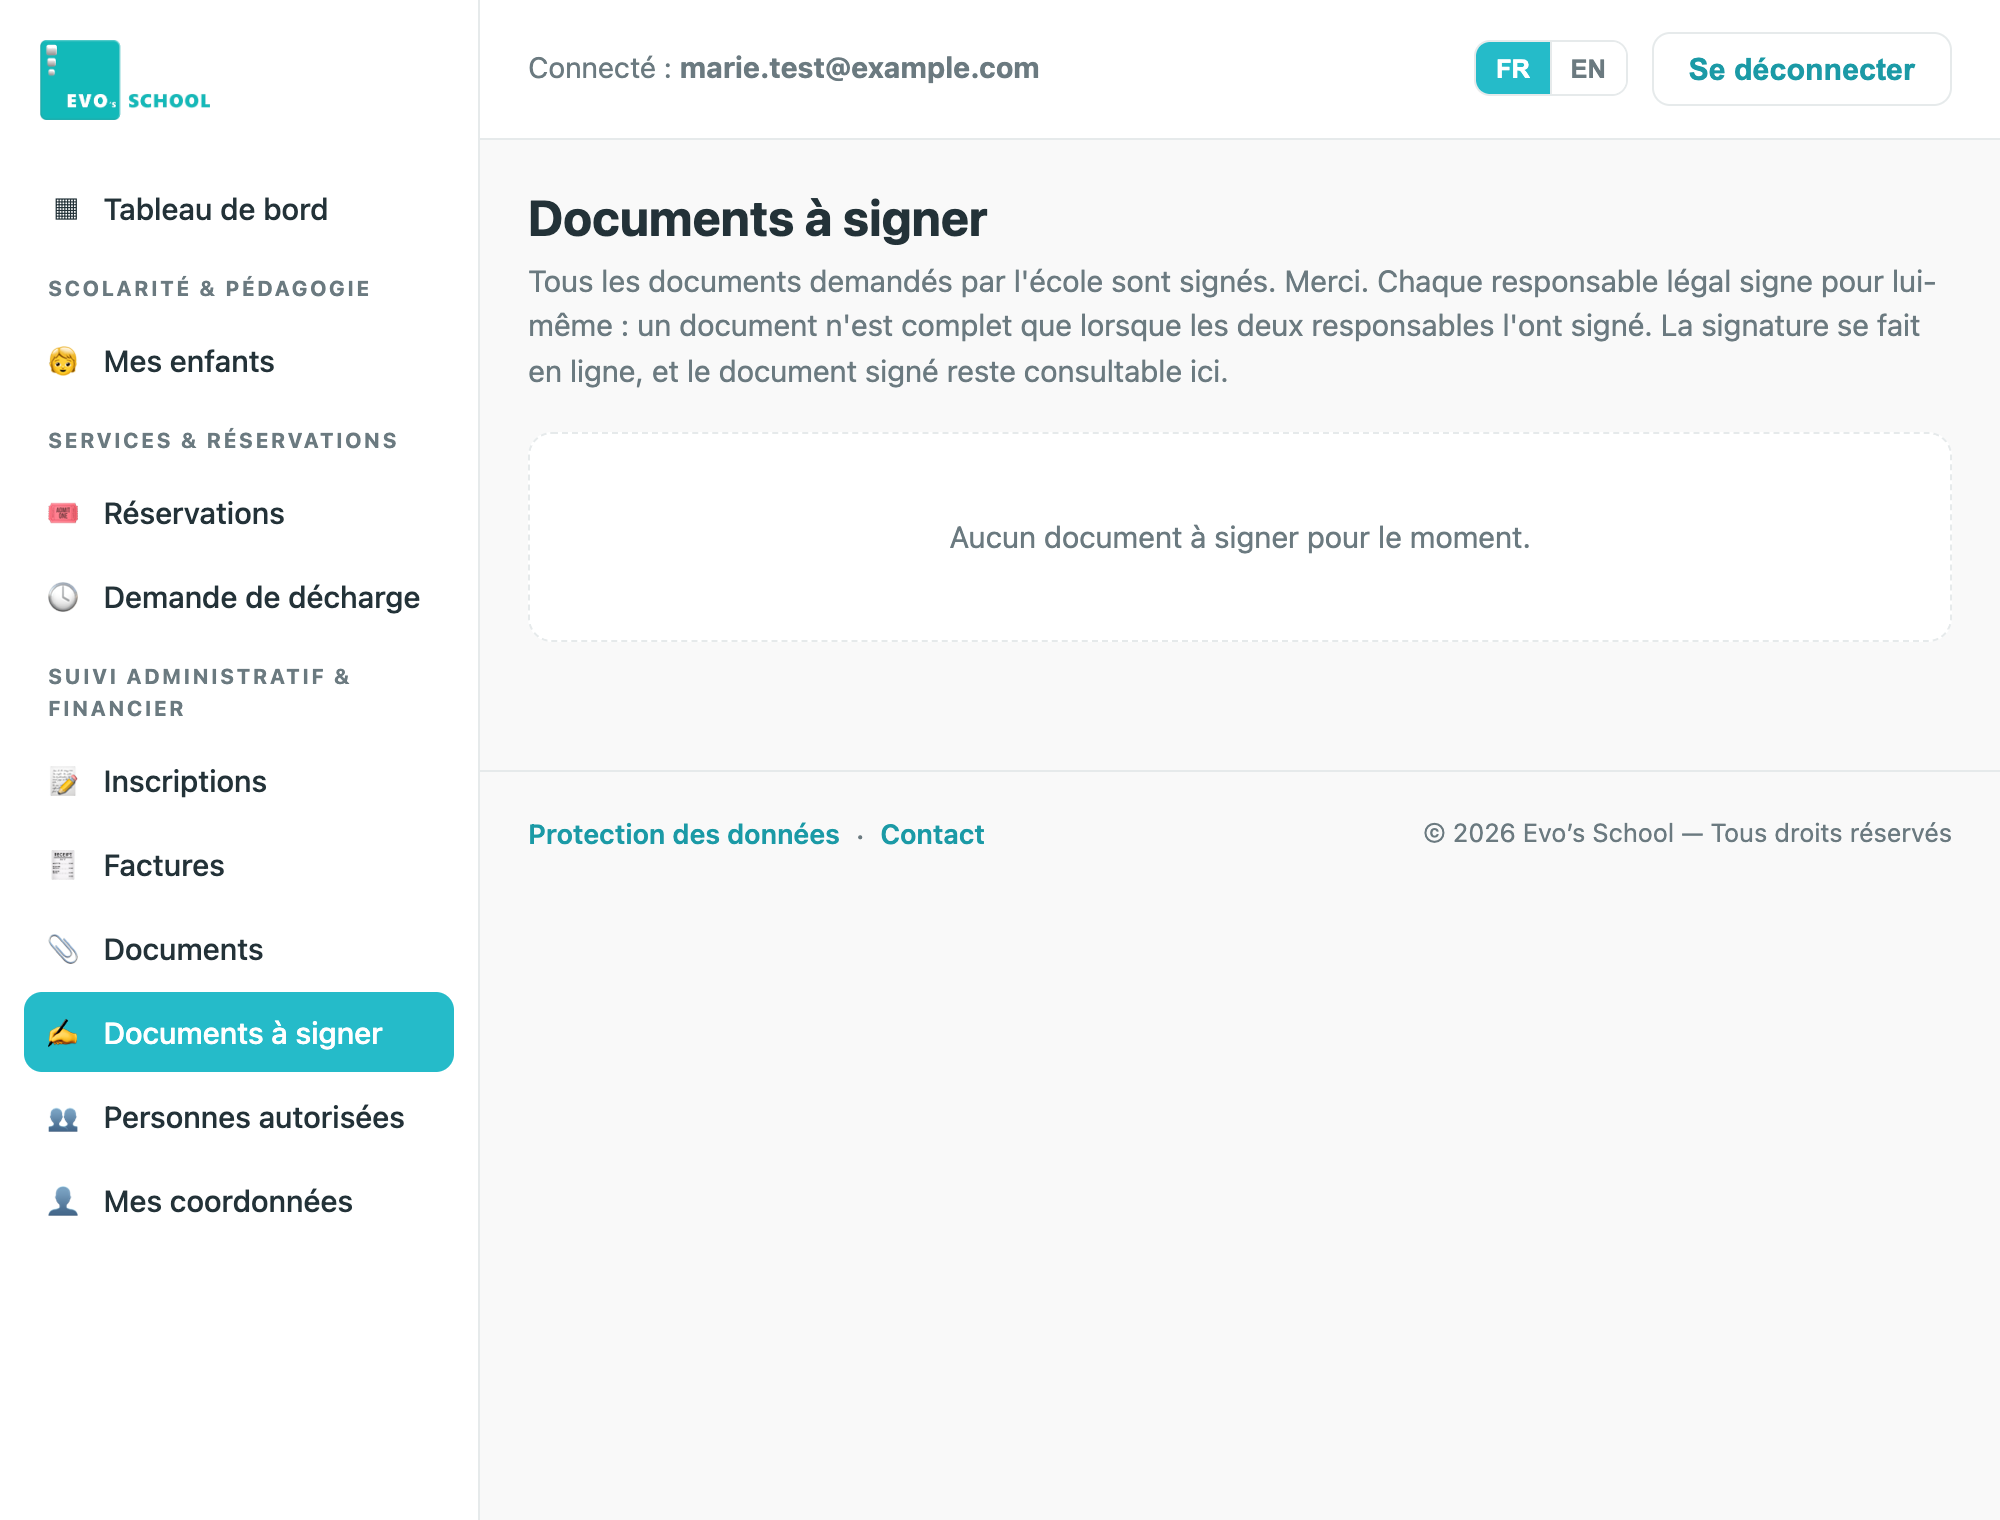
- In the menu, click “Documents to sign”.
- Open the document, read it, then follow the signature button at the bottom.
- Once signed, it stays available here at any time.
Switching language (French / English)
- At the top of every page, click “FR” or “EN”: the whole portal switches instantly.
Need help?
If despite this guide you can't manage, or in case of a technical problem, we remain at your disposal: call the school on 06 64 31 26 20 or write to contact@evoschool.fr.